[ad_1]
Things to keep in mind while setting up a new phone
Once you are about to set up a new phone, you will be asked to log in with your Google account. After logging in, you will be asked to personalise your phone, which means that your email, contacts list all can be restored once the phone is set up. Choose the option ‘Accept’.
How to move contacts from iPhone to Android
If you are moving from an iPhone to an Android device, there are a couple of ways to move contacts. Here we tell you all about them:
Using a Google account
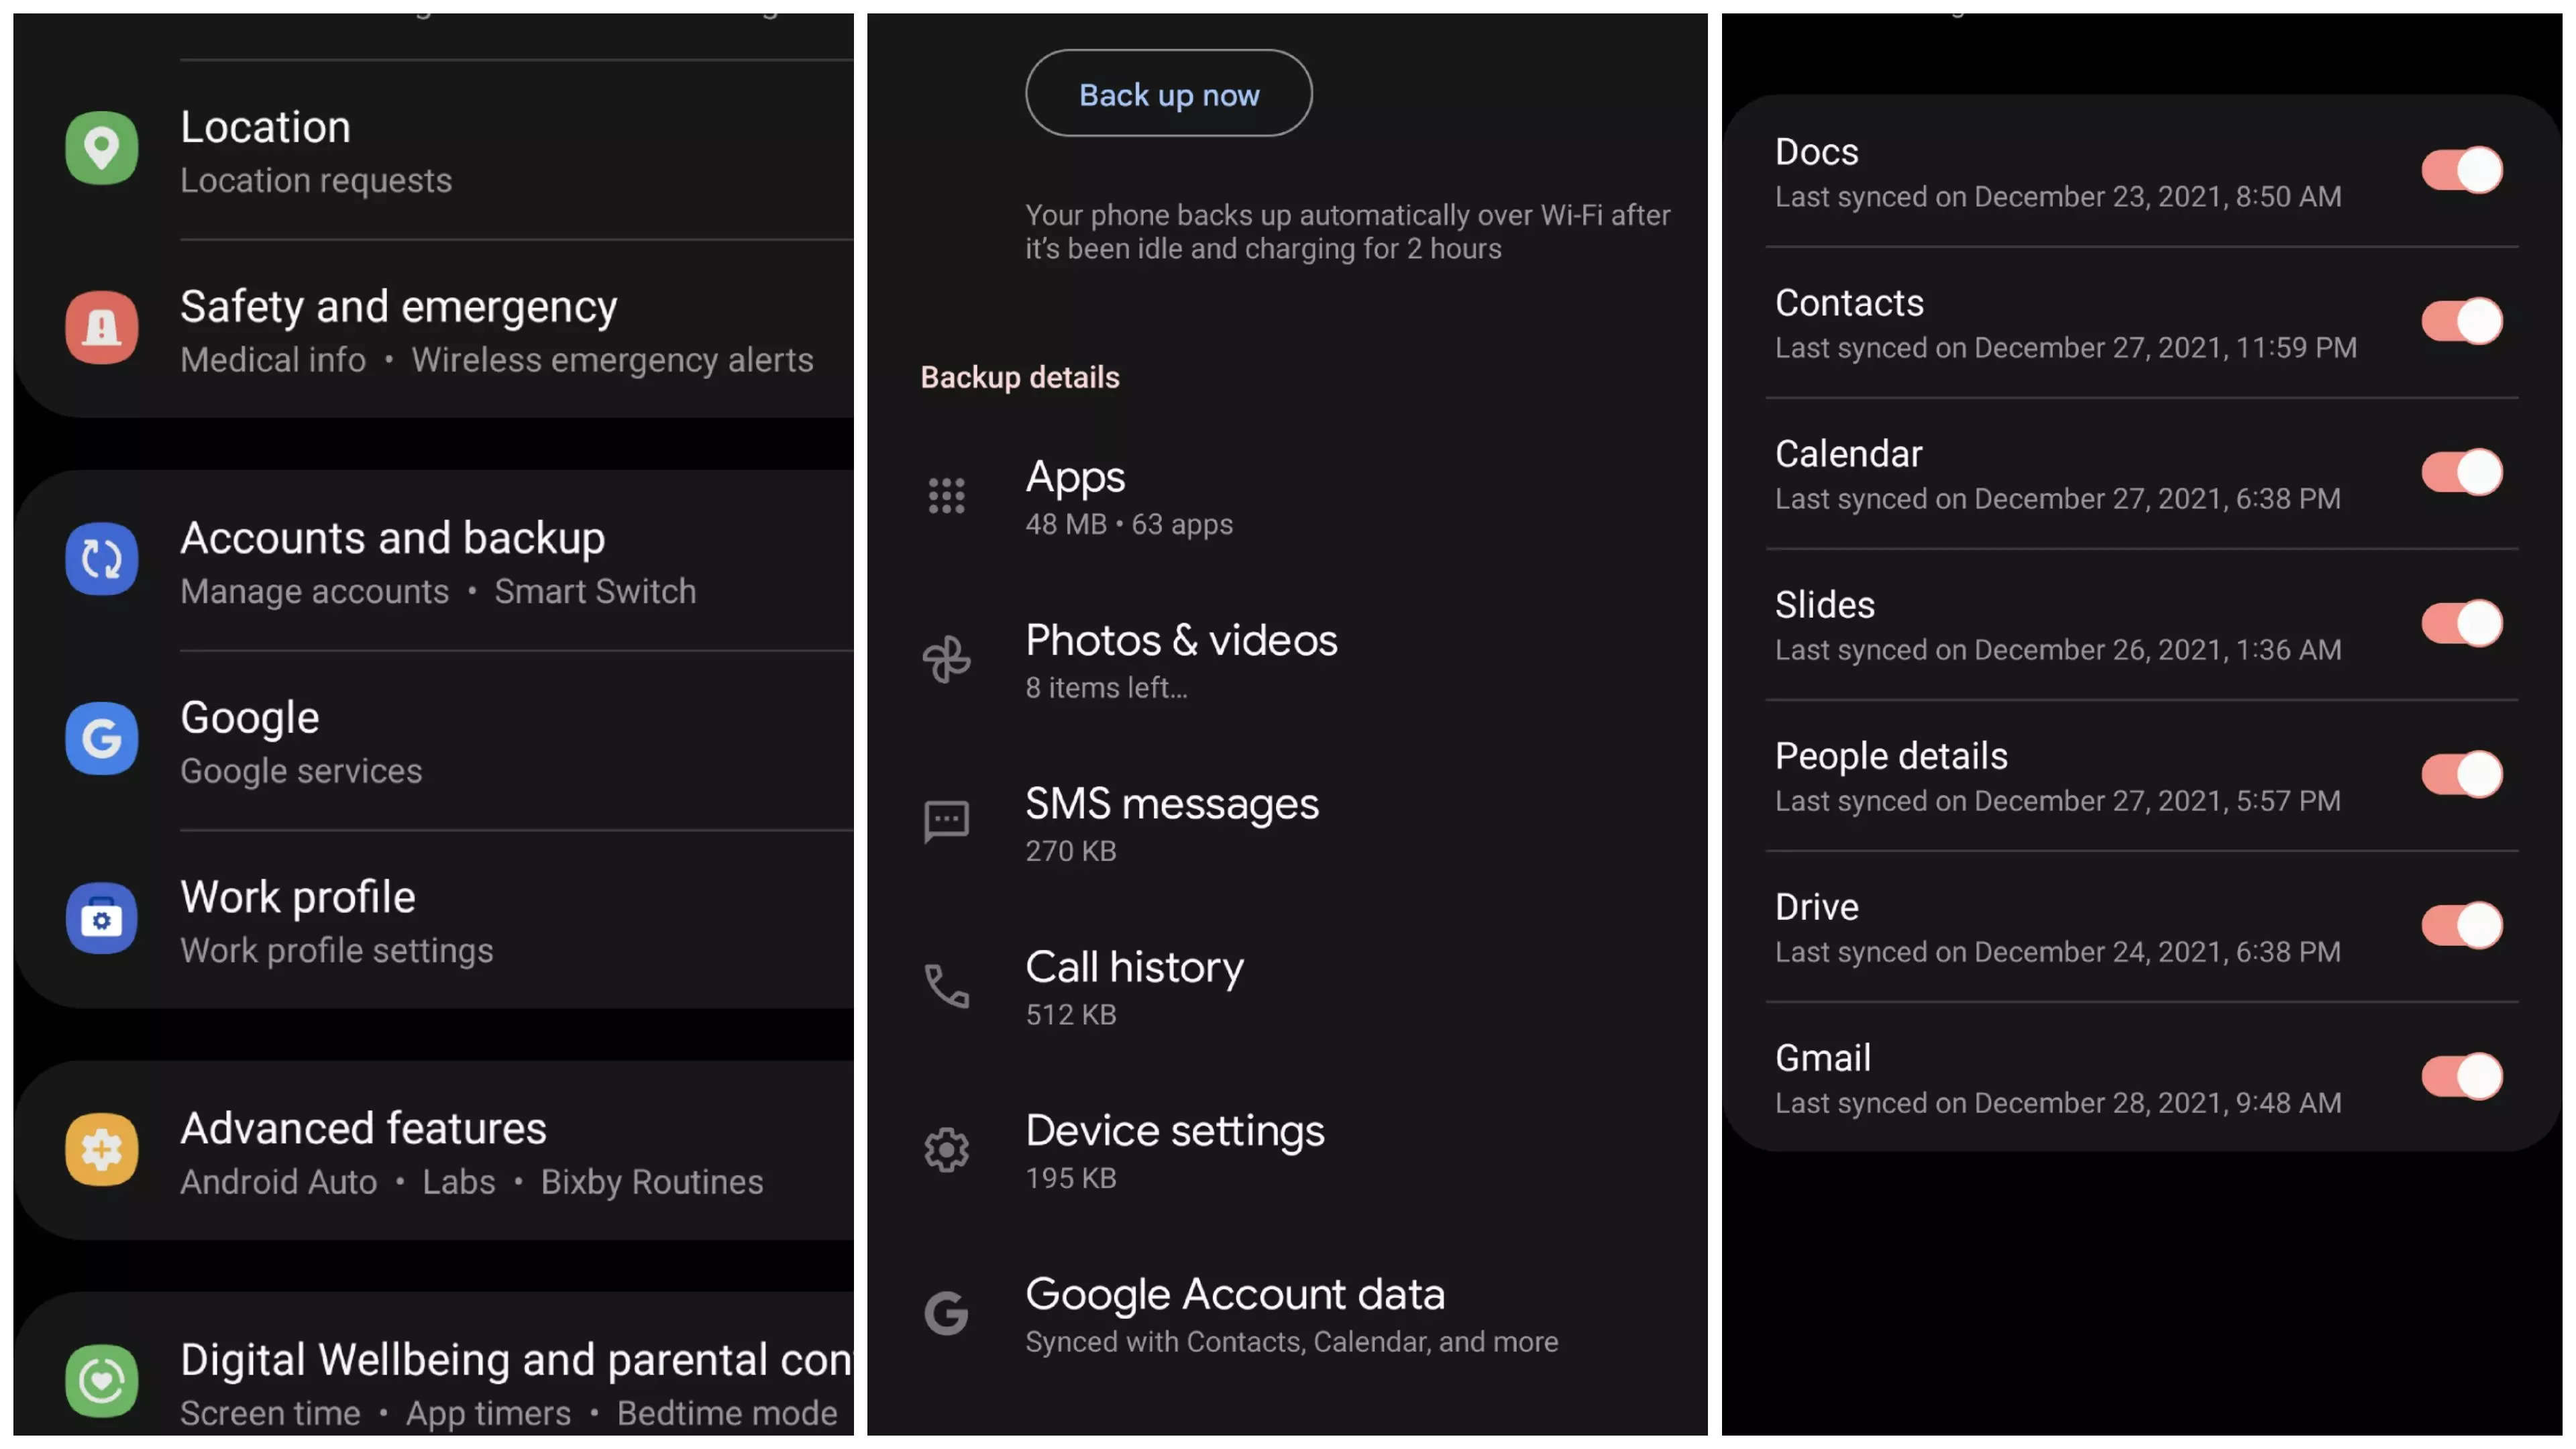
The first thing you will have to do is log in to your Google account. Once logged in, head to Settings > Mail, Contacts, Calendars, and add the Google account there. When asked what information is to be synced with the account, make sure you select Contacts. Note that synchronisation may take a while depending on how many contacts you have. When finished, you can check the list of contacts in your Google account.
Using iCloud
iCloud is another handy way of transferring contacts from an iPhone to an Android smartphone. Simply, go to Settings > Mail, Contacts, Calendars, and then select ‘iCloud’ from account options. Now select contacts to sync your contacts with the iCloud account.
Now head to iCloud.com on your laptop’s browser and log in with your Apple ID. After logging in, select Contacts > All Contacts. Now click the gear icon at the bottom of the page and click Export vCard. This will create a VCF file on PC which can be imported to your Android phone.
Using third-party apps
If you don’t want to use the above two methods, you can download third-party apps that can help you get the contacts migrated from an iPhone to an Android phone. However, make sure you select an app that is available for both iOS and Android platforms. Basic contacts transfer apps include the ability to backup contacts and send them as an email attachment (VCF file) to an address of your choice. Once this is done, simply download the VCF file on your Android phone and the contacts will be imported to your device.
How to save or import contacts
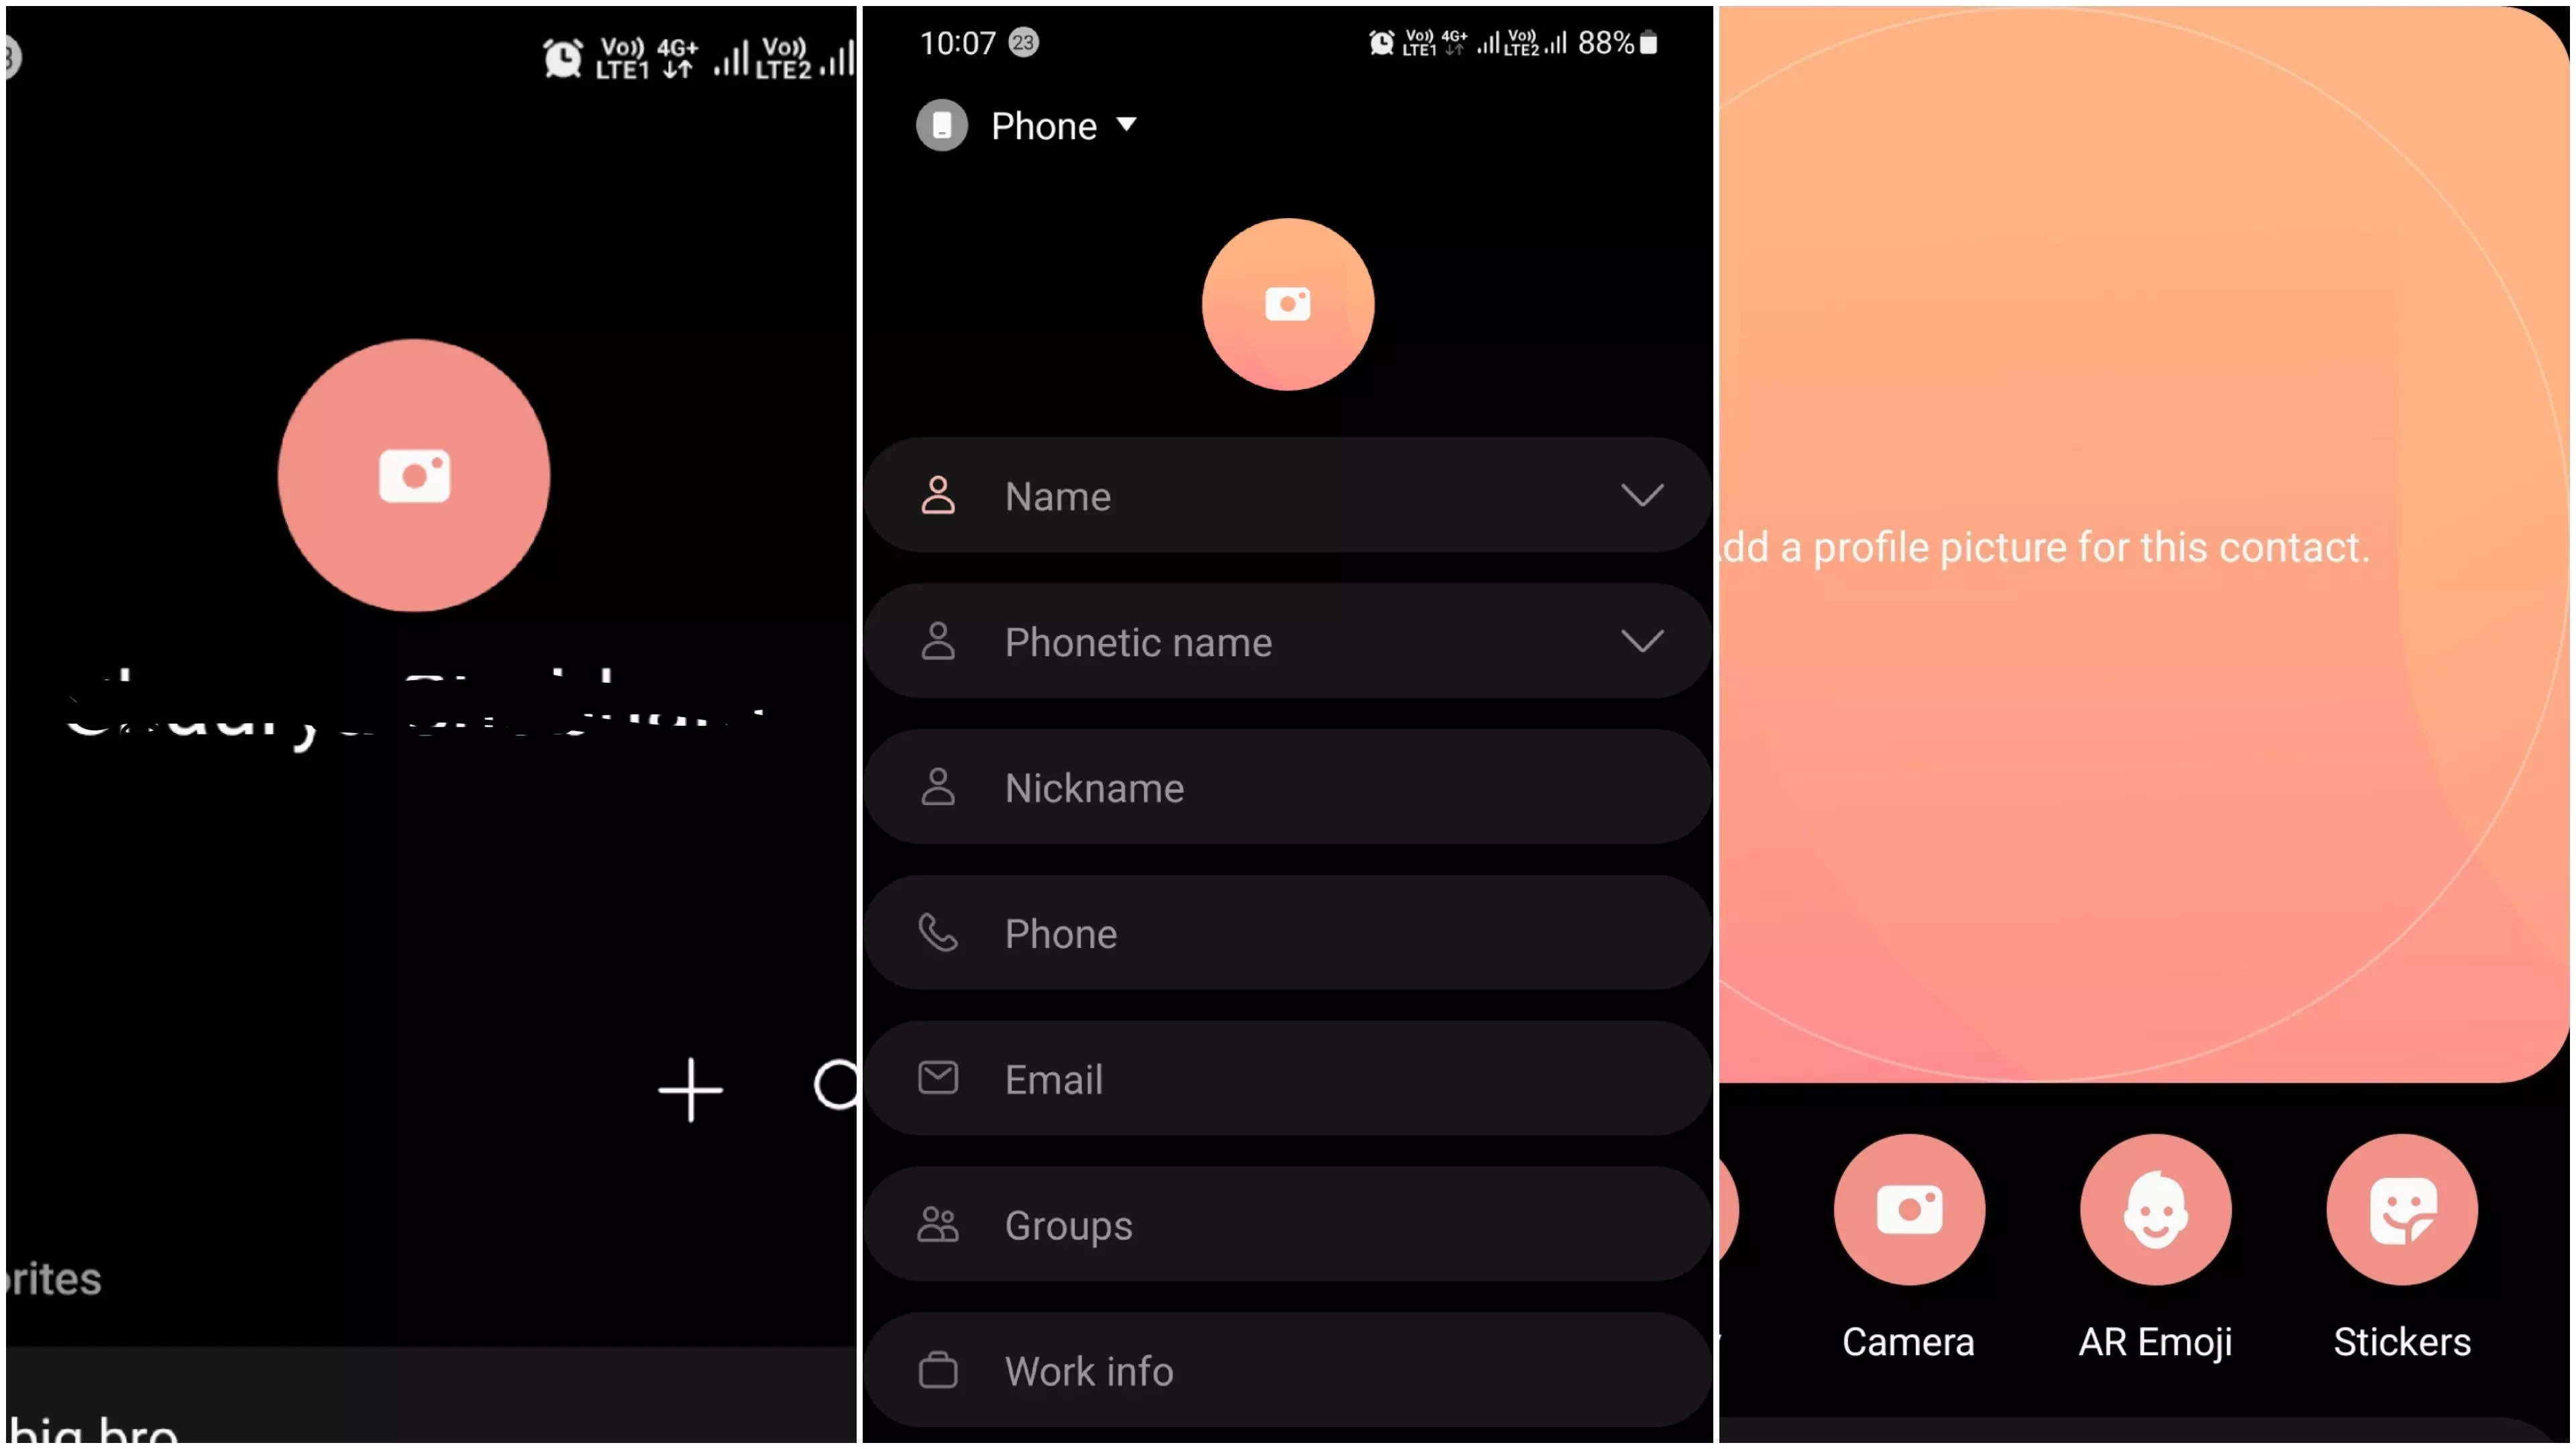
- To add a new contact, you need to follow these steps:
- On your Android phone, open the Contacts app
- At the bottom right, tap Add ‘+’
- Enter the contact’s name and an email or phone number.
- To pick the account where you want to save the contact: Next to your email account, tap the Down arrow
- To add more name details: Next to “Name,” tap the Down arrow
- To add a photo: At the top, tap Add contact photo
- To enter more information, like a street address or notes: Tap More fields.
- When you’re done, tap Save.
How to import contacts
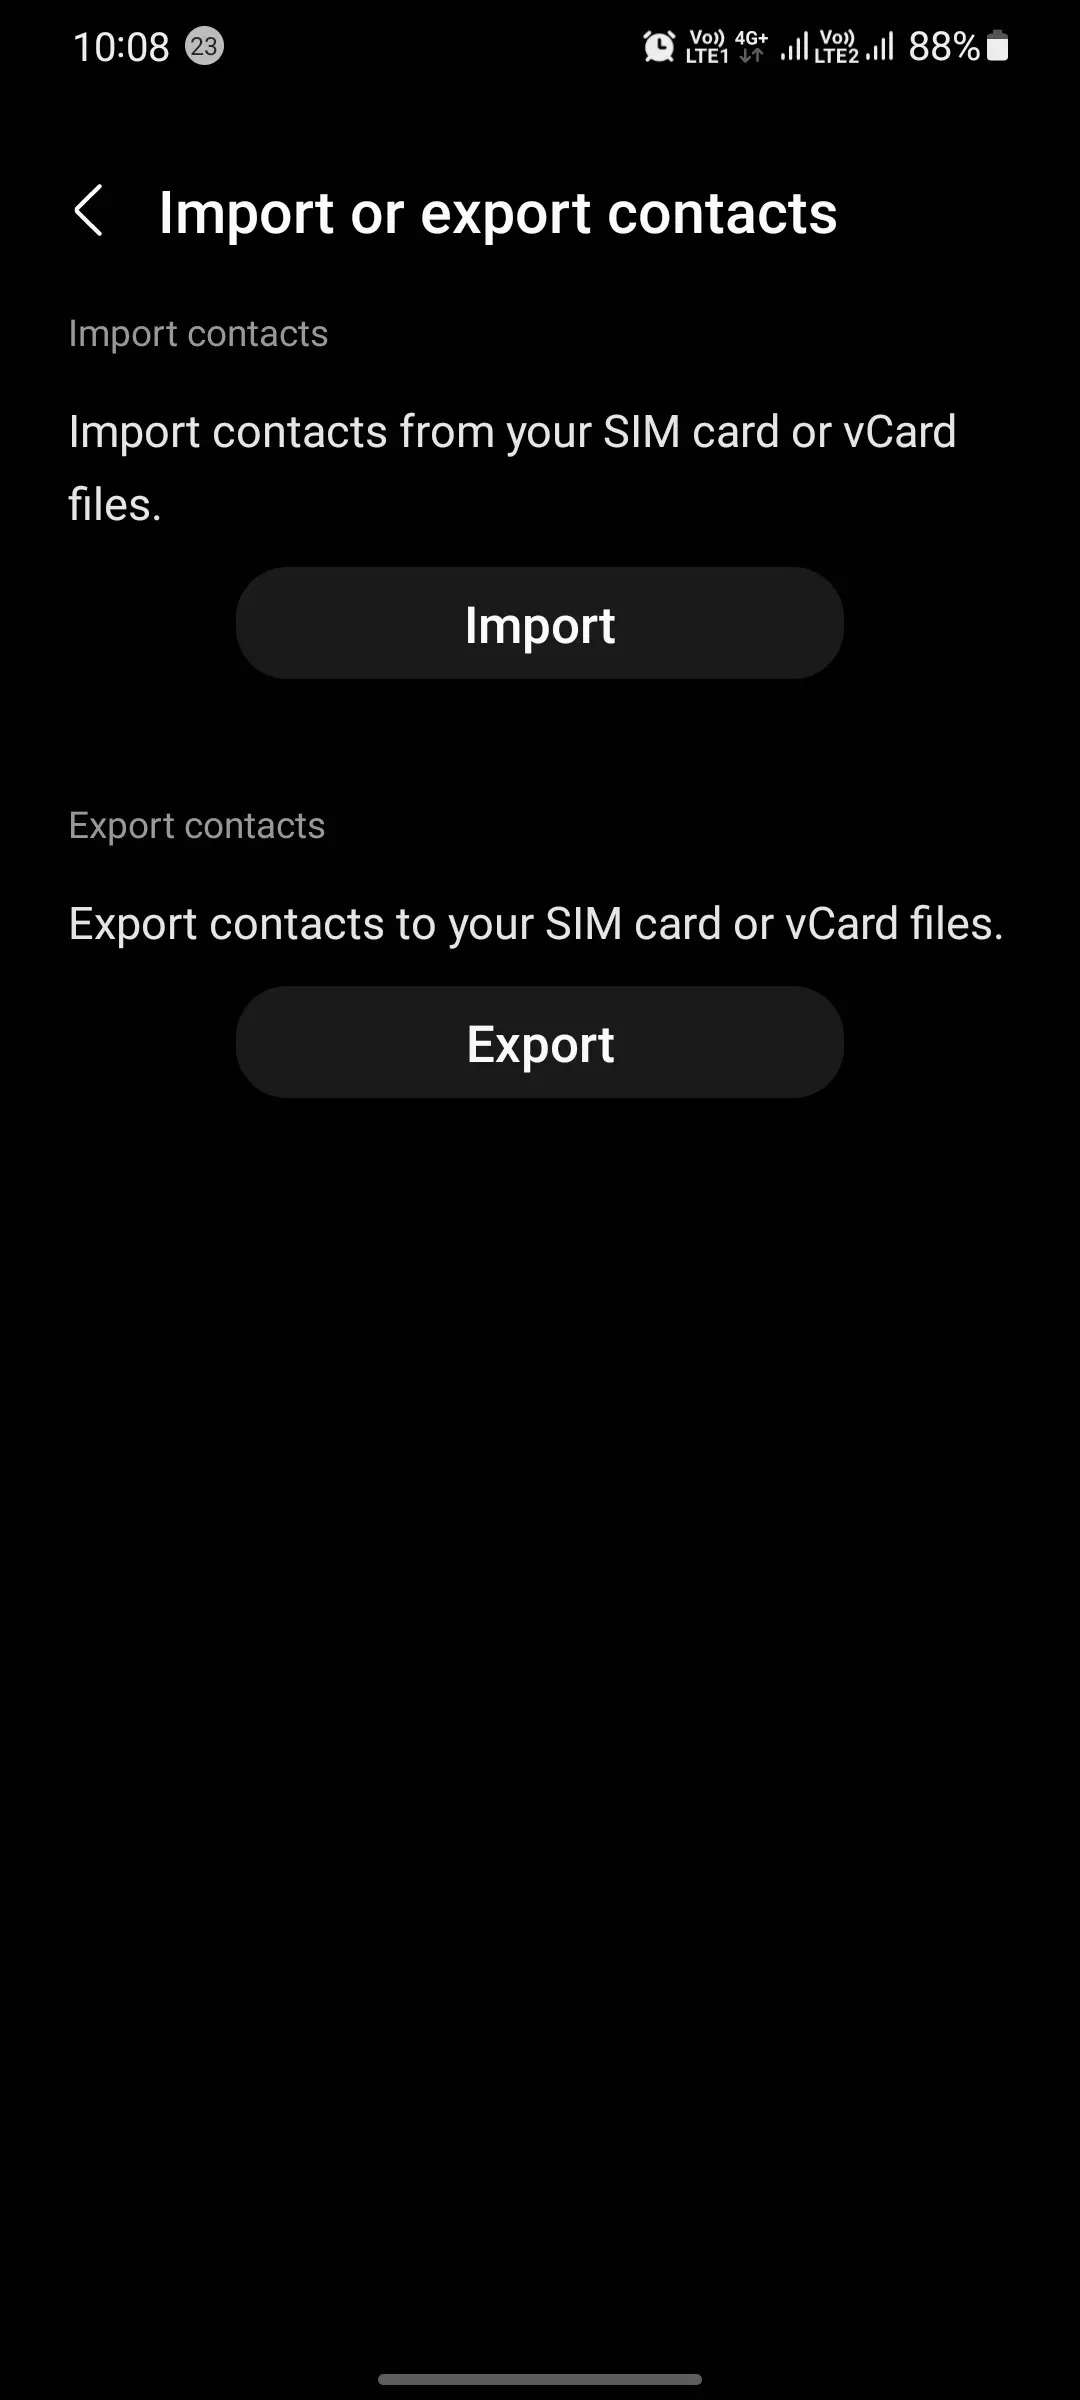
To import a contact from a SIM card to your Google account, follow these steps:
- Insert the SIM card into your device.
- On your Android phone, open the Contacts app
- At the top left, tap Menu > Settings > Import.
- Tap SIM card. If you have multiple accounts on your device, pick the account where you’d like to save the contacts.
How to restore contacts from backups
If you need to replace or phone or have lost your phone then you will have to restore contacts on the new phone. Do keep in mind that you cannot restore a backup from a higher Android version onto a phone running a lower Android version. To avoid, restoring contacts every time you change a phone, it’s better to save them to your Google account. If you save your contacts to your Google Account, they automatically show on your phone after you sign in. If you haven’t done that, then follow these steps:
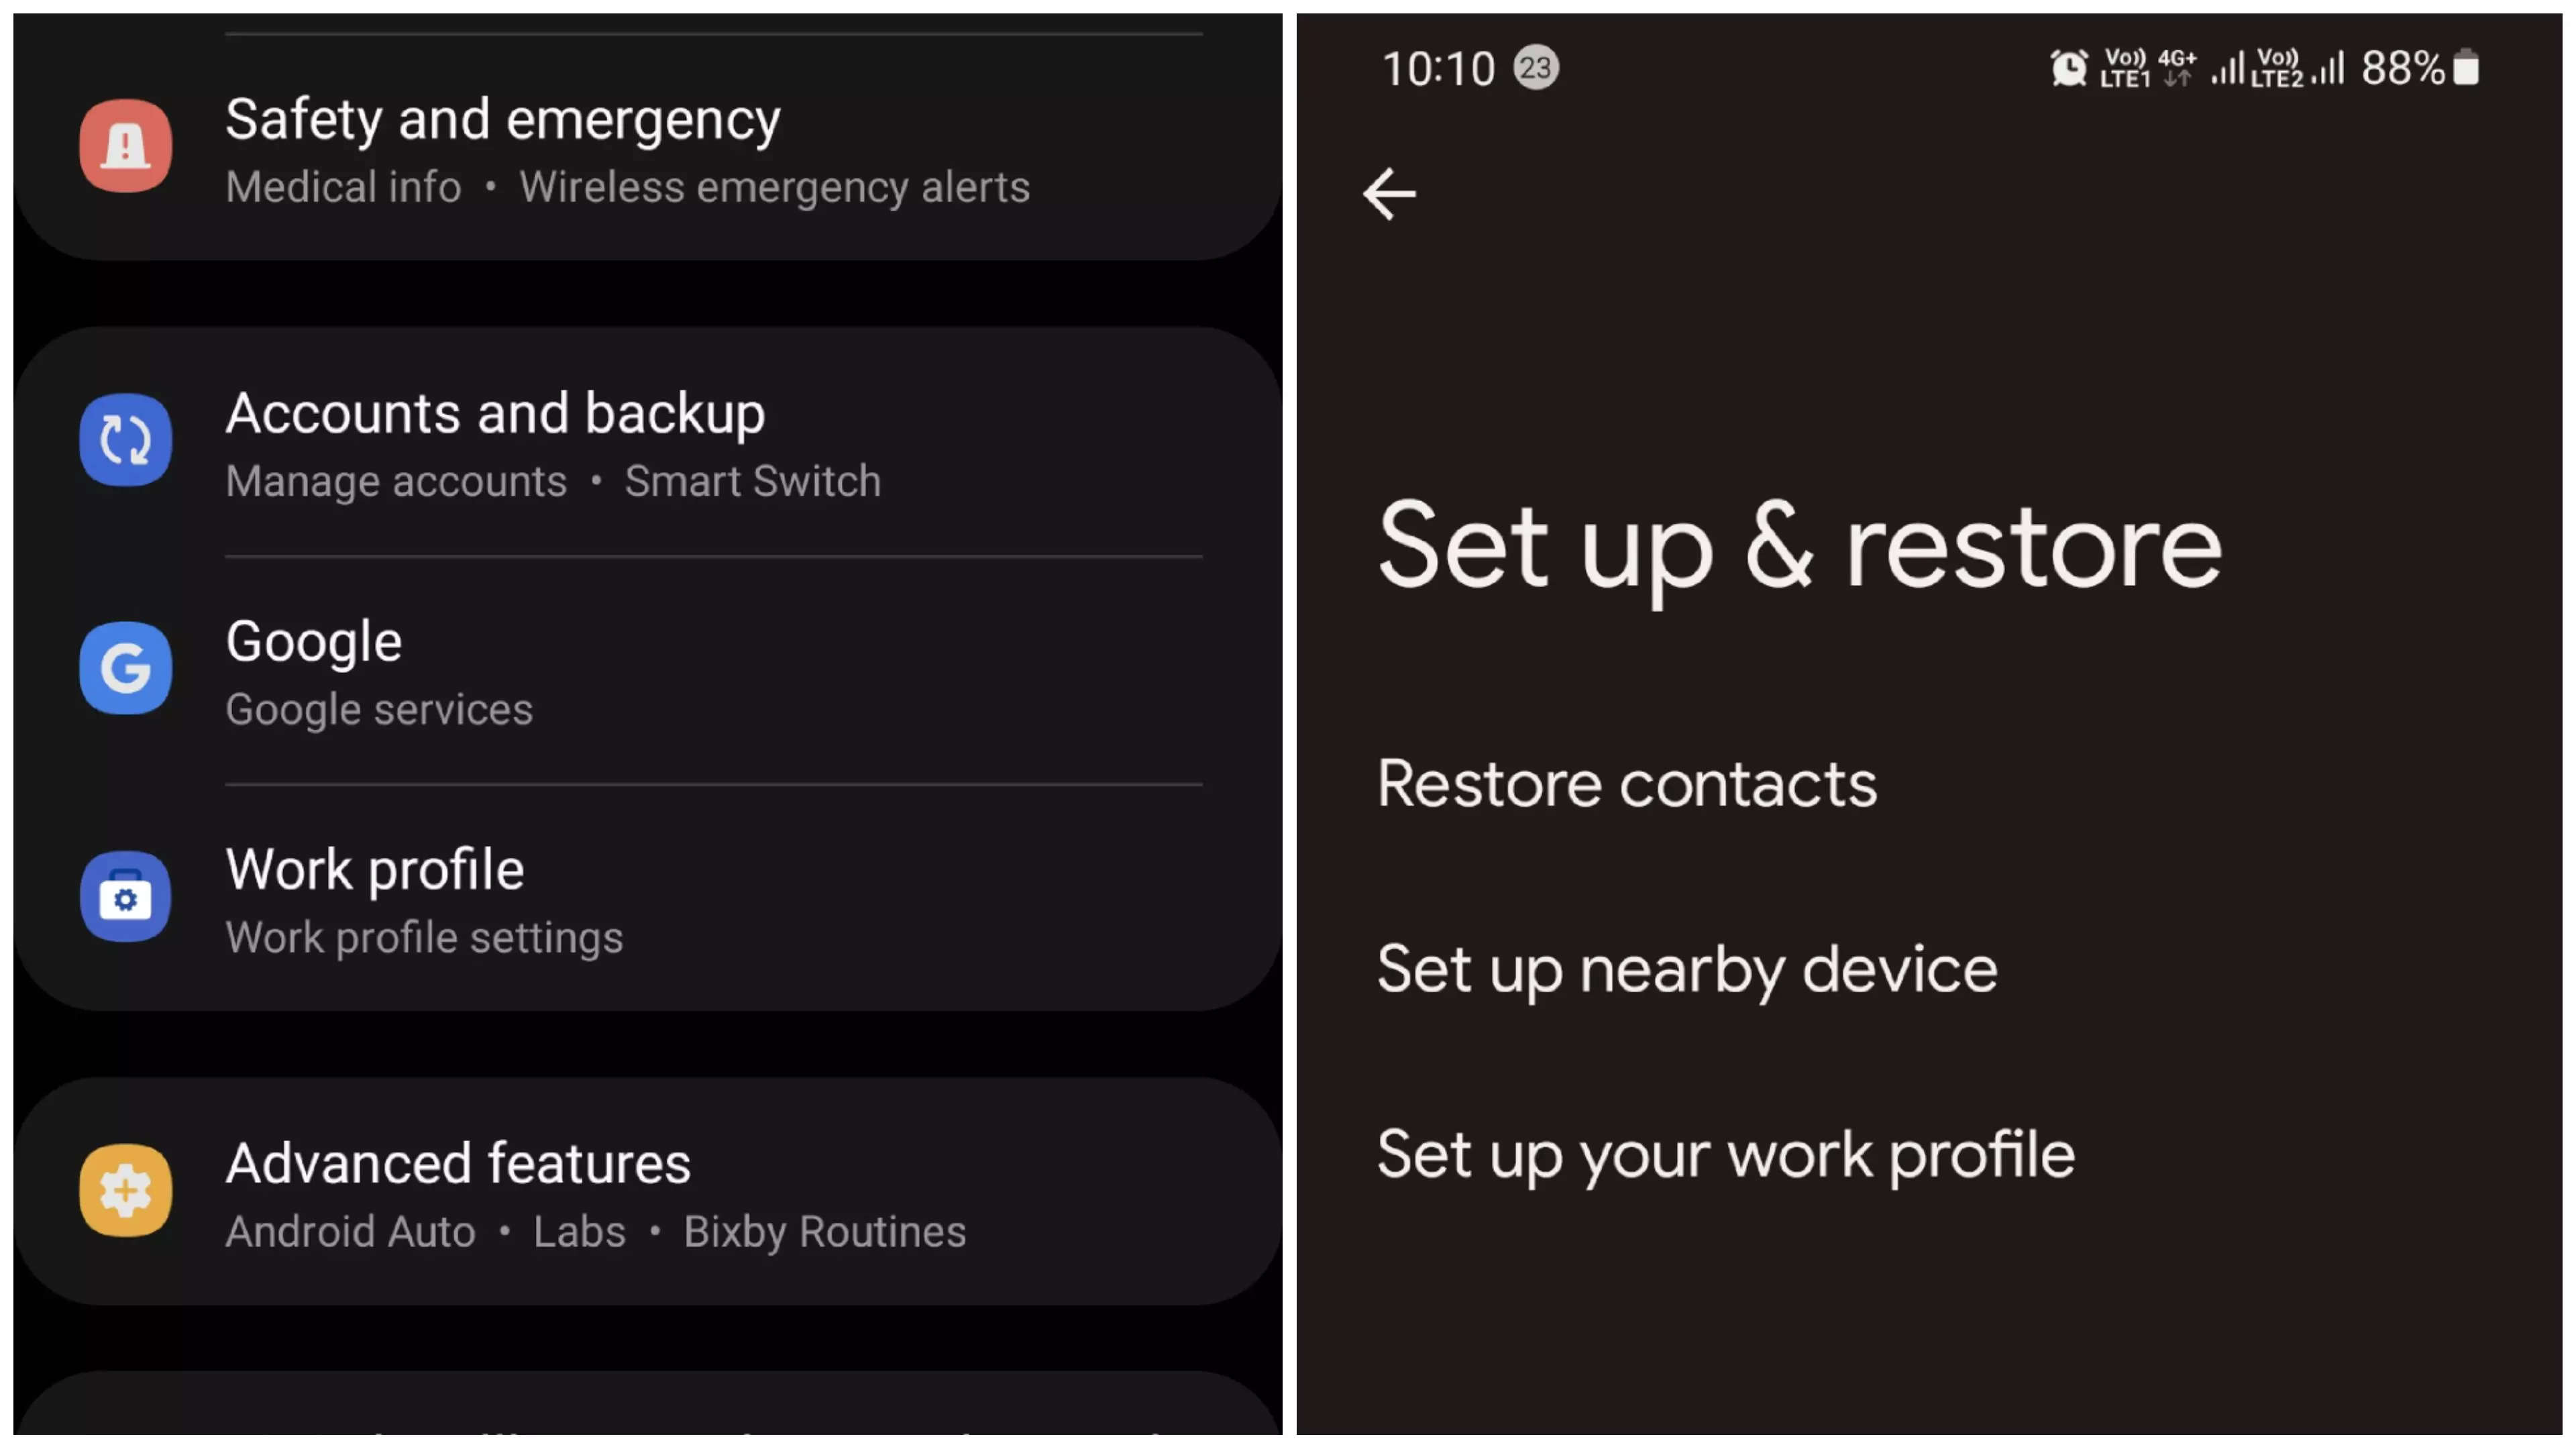
Open your phone’s Settings app.
Tap Google.
Tap Set up & restore. Tap Restore contacts.
If you have multiple Google Accounts, to choose which account’s contacts to restore, tap From account.
Tap the phone with the contacts to copy.
If you don’t want to copy contacts from your SIM card or phone storage, turn off SIM card or Device storage.
Tap Restore, then wait until you see “Contacts restored.”
To avoid duplicates, your phone restores only contacts that it doesn’t already have. Your restored contacts also sync to your current Google Account and other devices.
What’s the best way to keep your contacts always ‘safe
One of the easiest ways to ensure that your contacts are backed up and synced to all your devices, save them as Google contacts. Google contacts are available across Google services and can be managed on any signed-in device. If the original device is lost or damaged, the contacts can automatically sync to a new device when you sign in. Here are the steps to follow
- On your Android phone, open the “Settings” app.
- Tap Google > Settings for Google apps > Google Contacts sync.
- Then tap on Sync device contacts >Automatically back up & sync device contacts.
- Now turn on Automatically back up & sync device contacts >Pick the account you’d like your contacts to be saved in.
By doing this, all your contacts can only be automatically saved to one Google Account. So the next time you change your phone or even restore it, the contacts will automatically appear.
[ad_2]
Source link
